
Connecting SolidSync Network/Bluetooth GPS to Windows XP SP3
If you are using a different version, the menus and screens may be different from what is shown below.
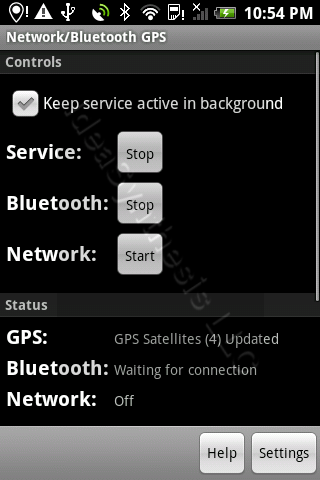
Tap the service Start button to start the GPS service, as shown in Figure 3 below.

Tap the Bluetooth Start button to start the Bluetooth service, as shown in Figure 4 below.
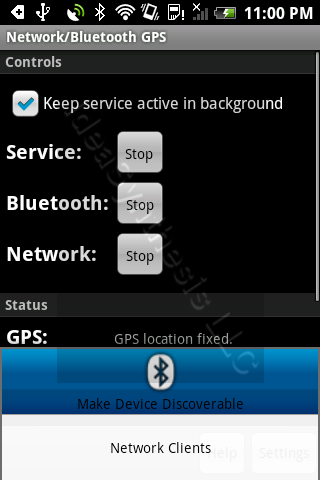
Tap the Menu button to open the application menu as shown in Figure 5 below.
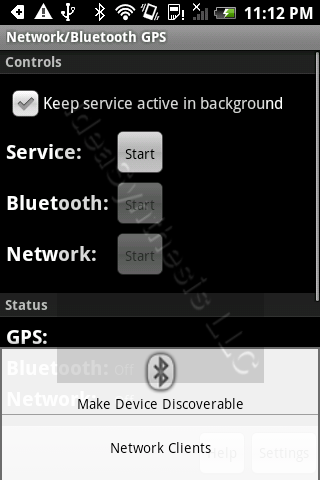
Tap the menu item as shown in Figure 6 below.
A confirmation request will pop up as shown in Figure 7 below.
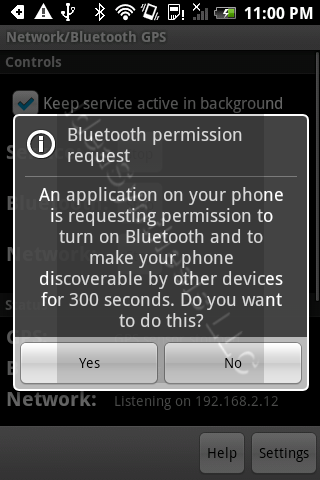
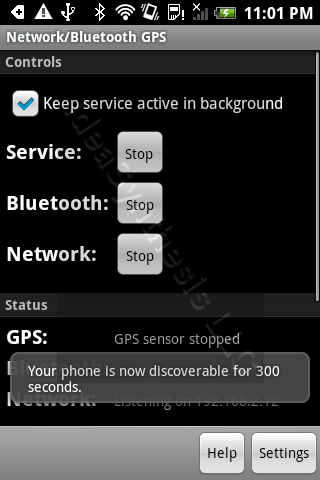
Tap OK to confirm the request: an indication will show up as in Figure 8 below.
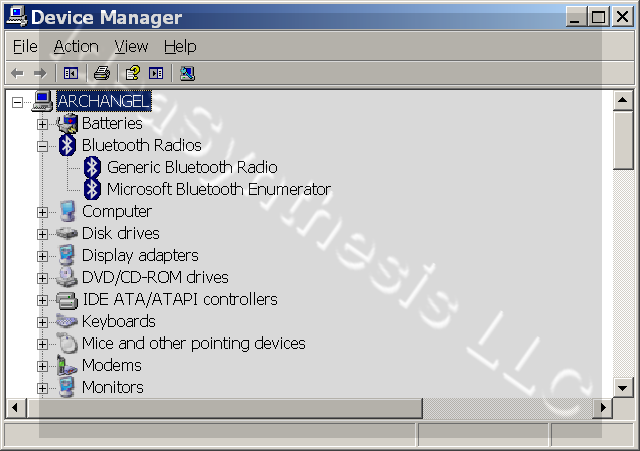
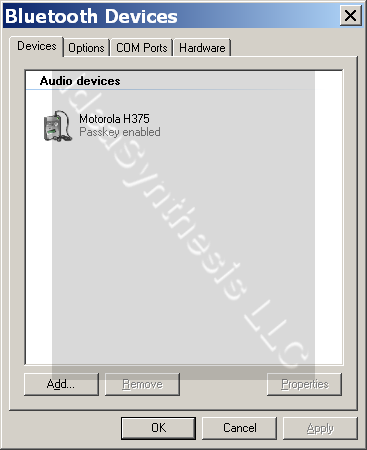
On the Windows XP computer, double click on the Bluetooth icon in the system tray to open up the Bluetooth Devices window as shown in Figure 9 below. If there is no Bluetooth icon in the system tray you can open up the Control Panel and double click the Bluetooth Devices icon.
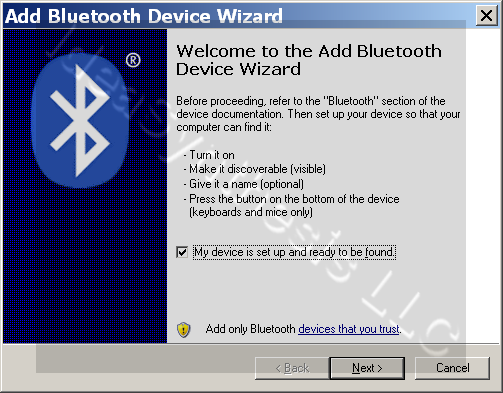
Click on the button to start the search for the handset as shown in Figure 10 below. Make sure the option is checked, then click the Next button.
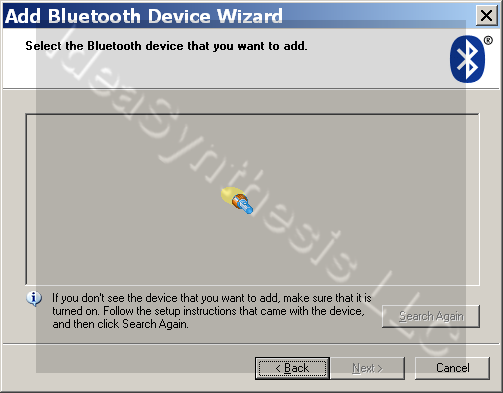
A search dialog will appear as in Figure 11 below.
Once the phone is found, it will be shown as in Figure 12 below.
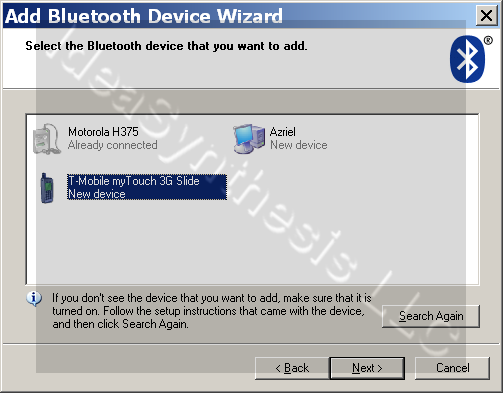
Double click on the device to open the pairing window as shown in Figure 13 below. Select the option, then click the Next button.
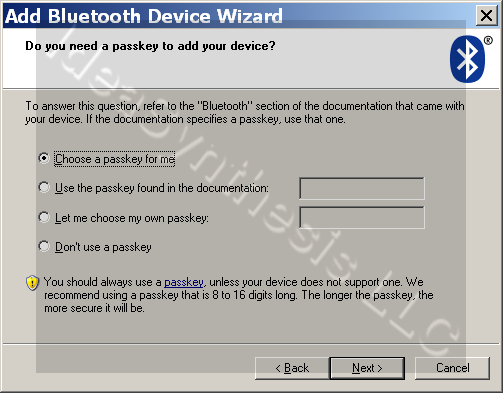
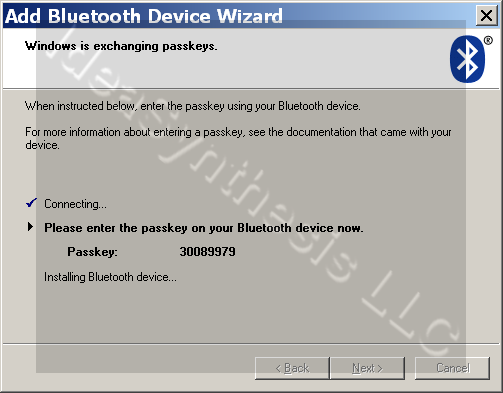
Once you confirm the request, a pairing initiation dialog will appear as shown in Figure 14 below.
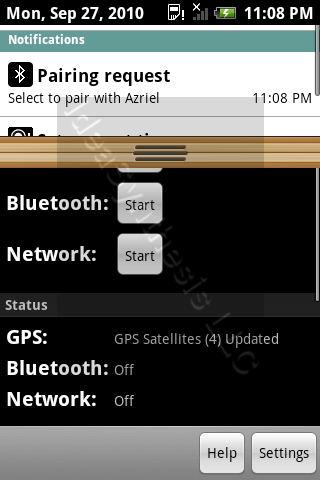
On the phone, a notification will appear to indicate that a pairing request was received, as shown in Figure 15 below.
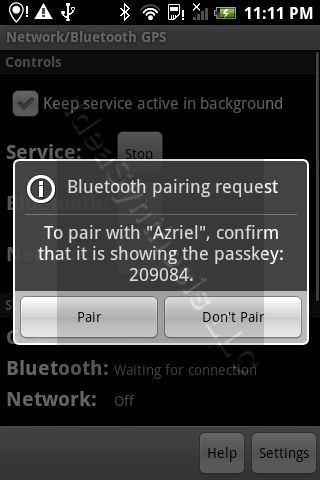
Tap the pairing request notification and you will be prompted to confirm or deny the request as shown in Figure 16 below.
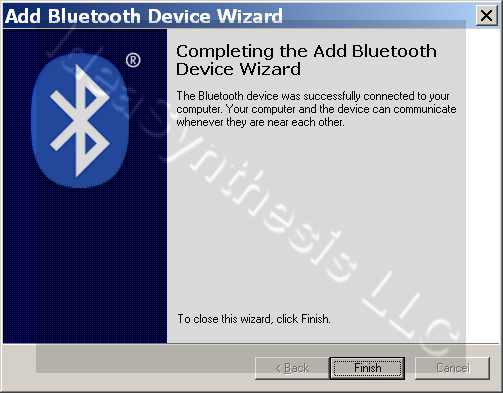
Once you confirm the pairing, the pairing wizard will complete as shown in Figure 17 below. Click the Finish button to close the window.
The Bluetooth Devices window will now show the phone as in Figure 18 below.
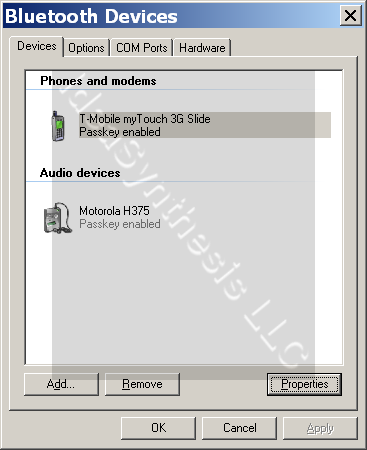
Select the phone and click the Properties button to open the device properties as shown in Figure 19 below.

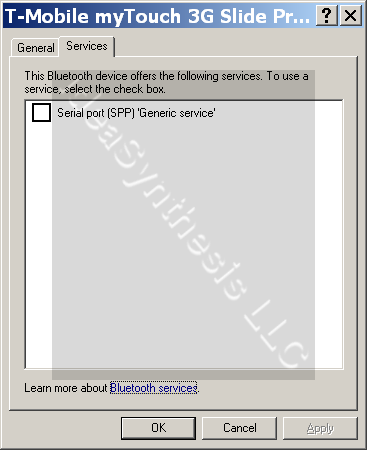
Select the Services tab. After a moment of searching the service will be found as shown in Figure 20 below.
Click the checkbox and then click the Apply button. The computer will configure the connection and assign a serial port as shown in Figure 21 below.
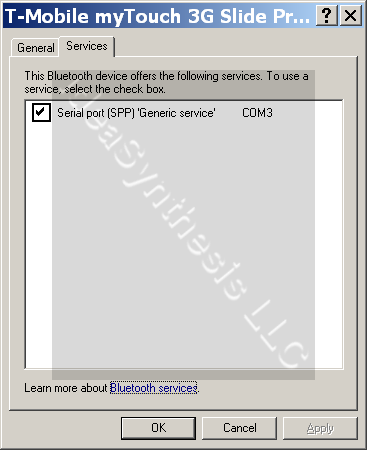
The connection is setup. Click the OK button to close the windows.