Connecting SolidSync Network/Bluetooth GPS to Mac OSX


Thank you for using SolidSync Network/Bluetooth GPS, the quick and easy way to get location data over Bluetooth and TCP/IP from an Android mobile device running Android 2.0 or higher. This guide walks through the steps necessary to connect Network/Bluetooth GPS to a Bluetooth-enabled computer running Mac OSX. This requires first pairing your phone with your Mac and then opening a serial port to connect to the Network/Bluetooth GPS service.
Compatibility

The steps below were performed using a computer running Mac OSX 10.6.7, as shown in Figure 1 below.

Figure 1: Mac OSX version information

If you are using a different version, the menus and screens may be different from what is shown below.

Details

Tap the Network/Bluetooth GPS icon on the phone to start the application. If this is the first time the application has been started, the app will appear as shown in Figure 2 below, otherwise it will appear as in Figure 3 below. After reading through the help file, tap the OK button.

Figure 2: initial startup screen

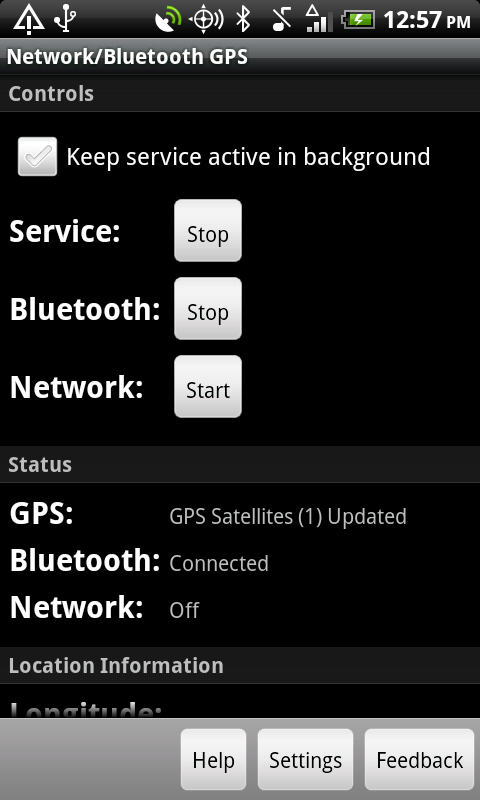
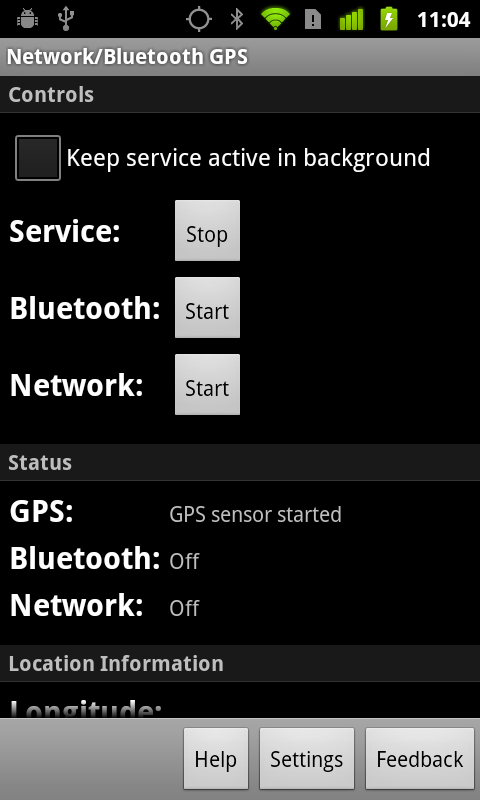
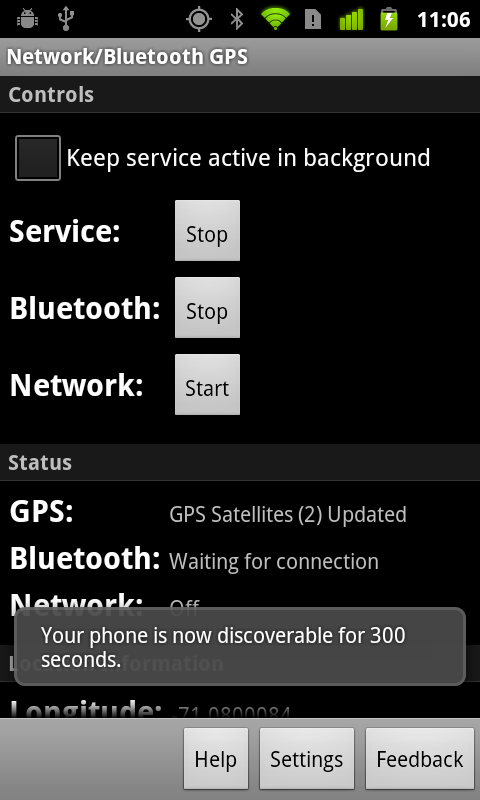
Tap the service Start button to start the GPS service, as shown in Figure 3 below.

Figure 3: GPS service started

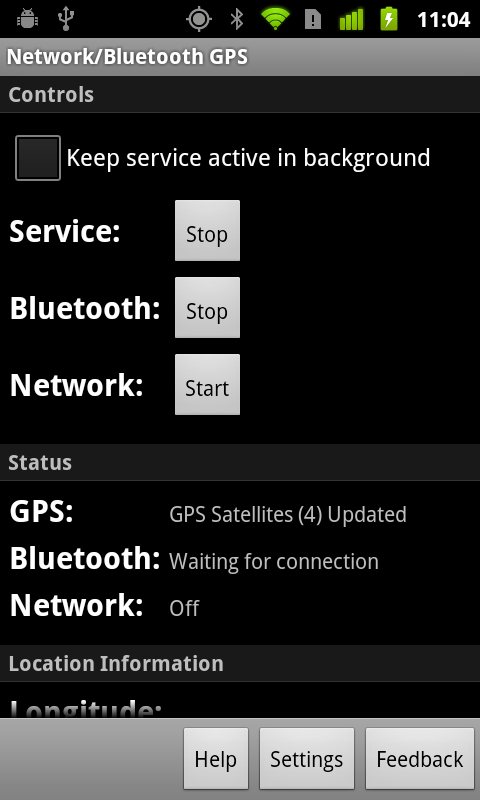
Tap the Bluetooth Start button to start the Bluetooth service, as shown in Figure 4 below.

Figure 4: Bluetooth service started

Tap the Menu button to open the application menu as shown in Figure 5 below.
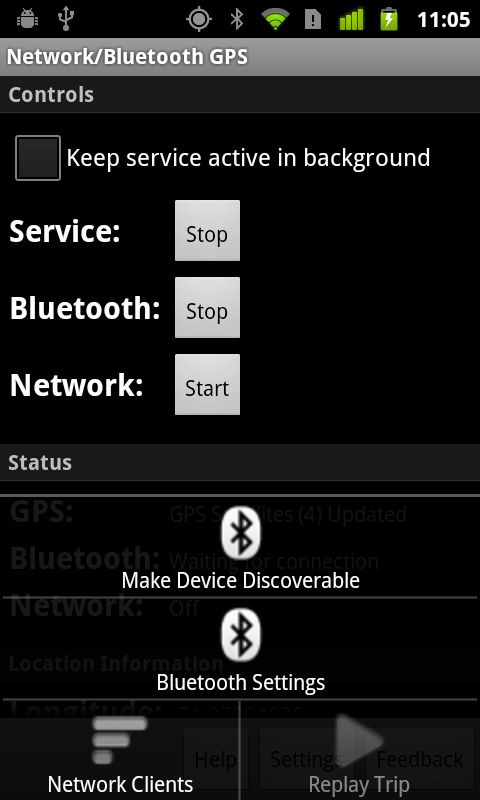
Figure 5: application menu

Tap the Make Device Discoverable menu item as shown in Figure 6 below.

Figure 6: make device discoverable menu item

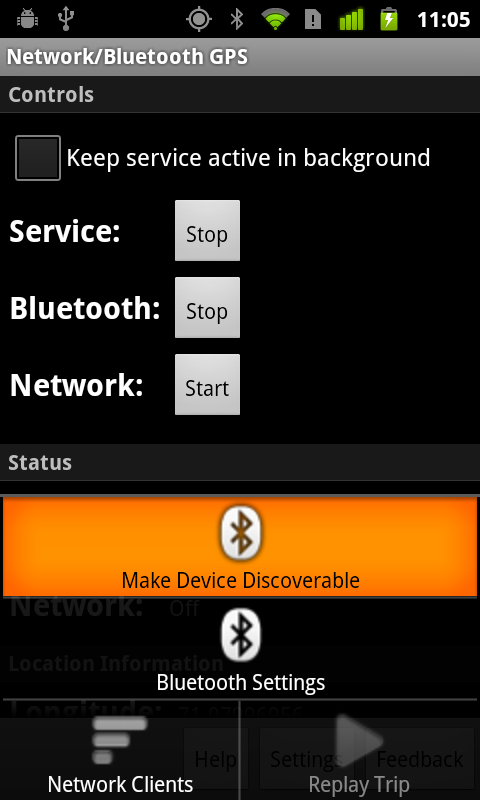
A confirmation request will pop up as shown in Figure 7 below.

Figure 7: confirmation request to make device discoverable

Tap OK to confirm the request: an indication will show up as in Figure 8 below. Once you do this your Android device will be discoverable for 300 seconds. You can make your device discoverable as many times as is necessary to complete this process.

Figure 8: device discoverable confirmation message

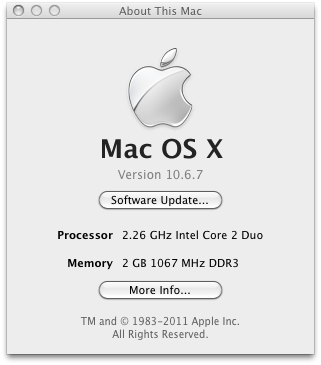
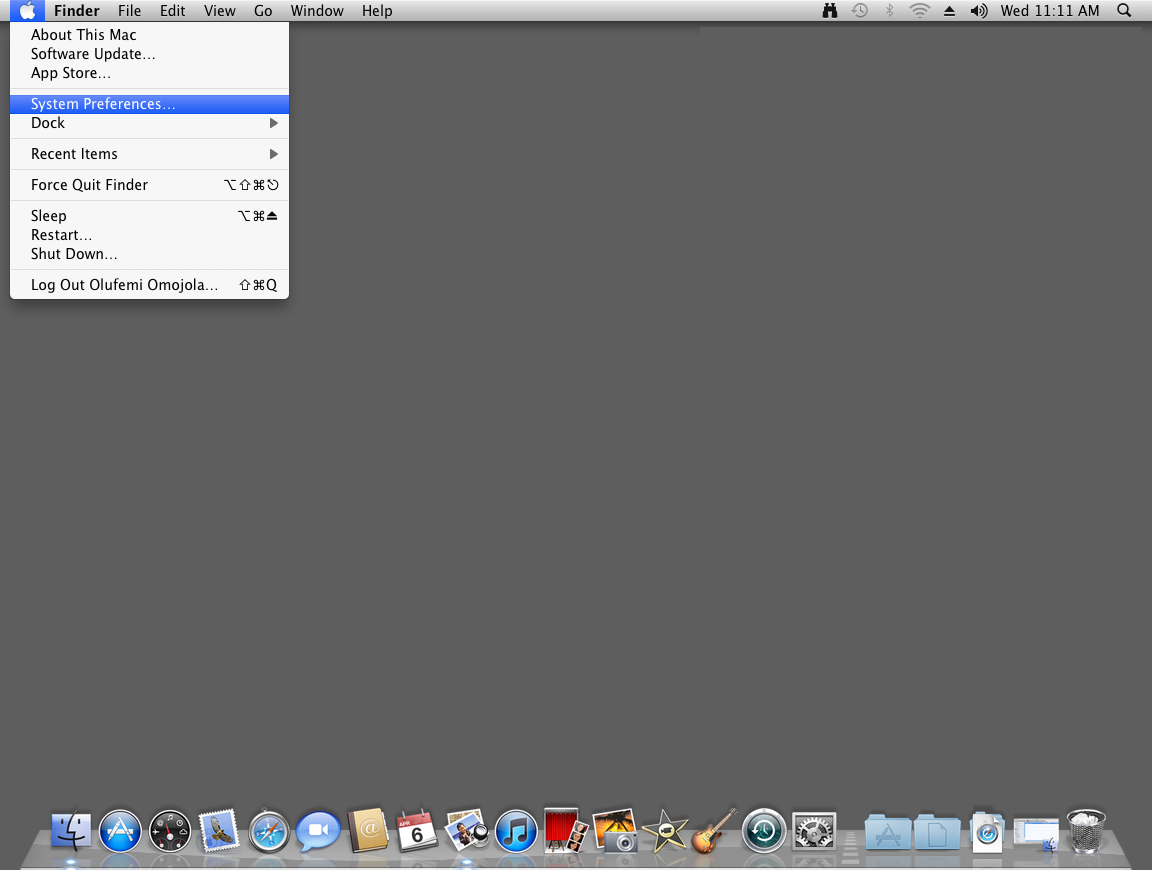
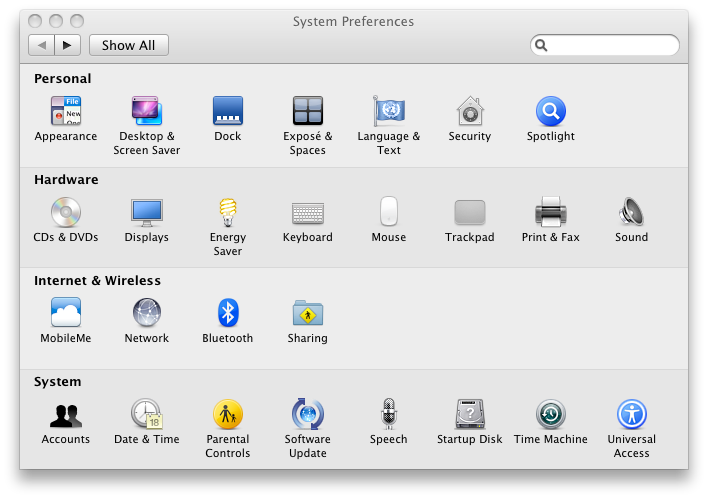
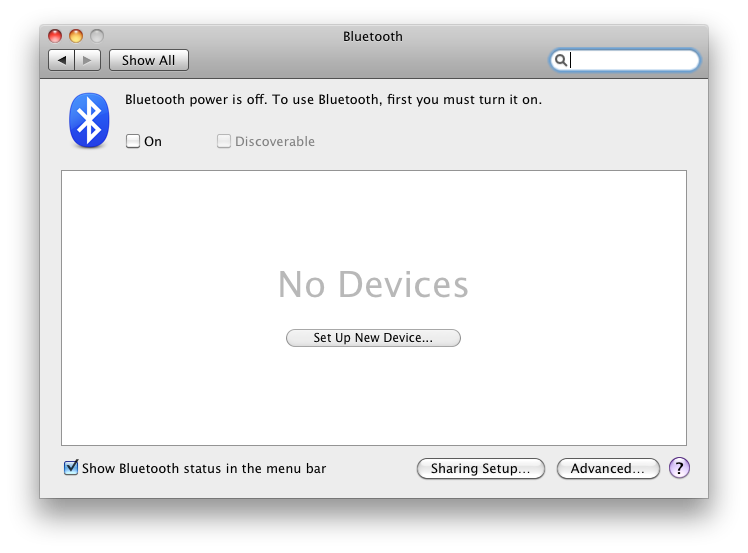
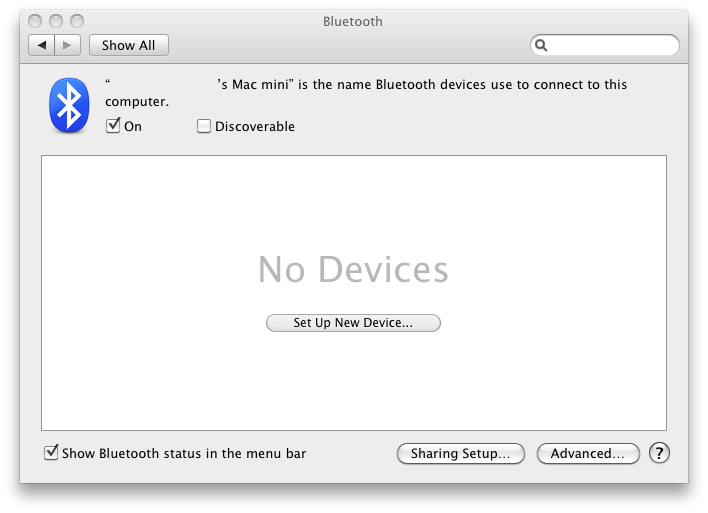
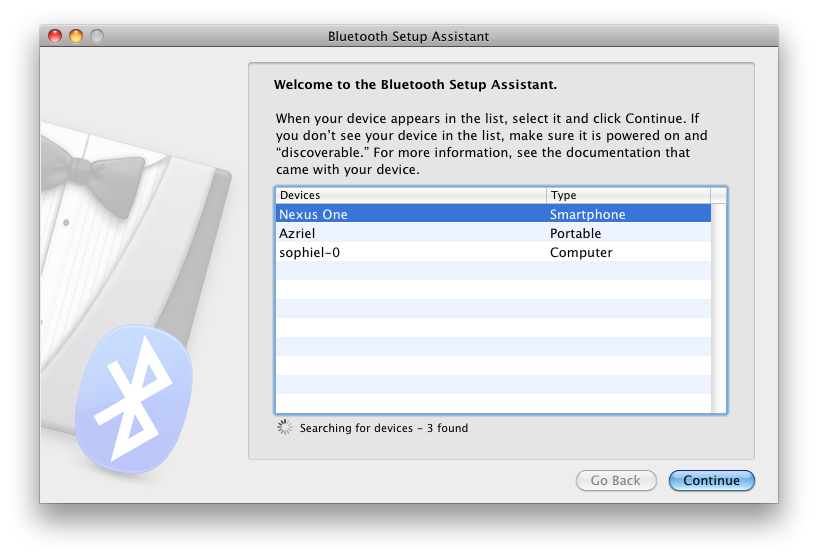
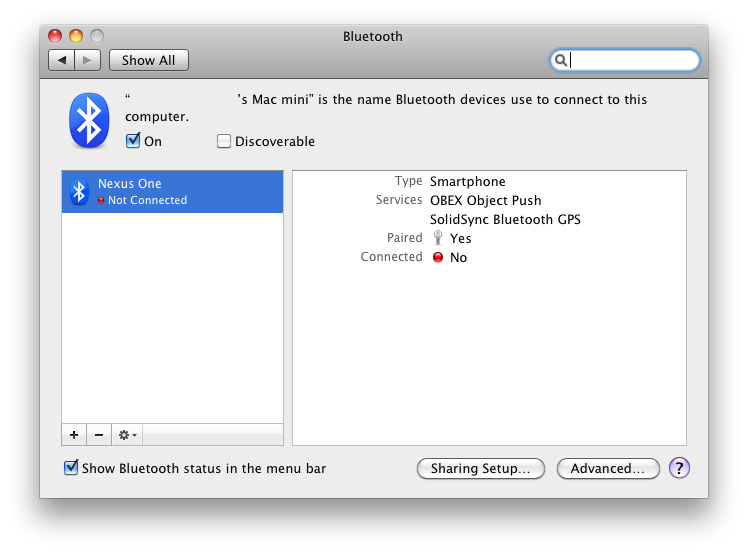
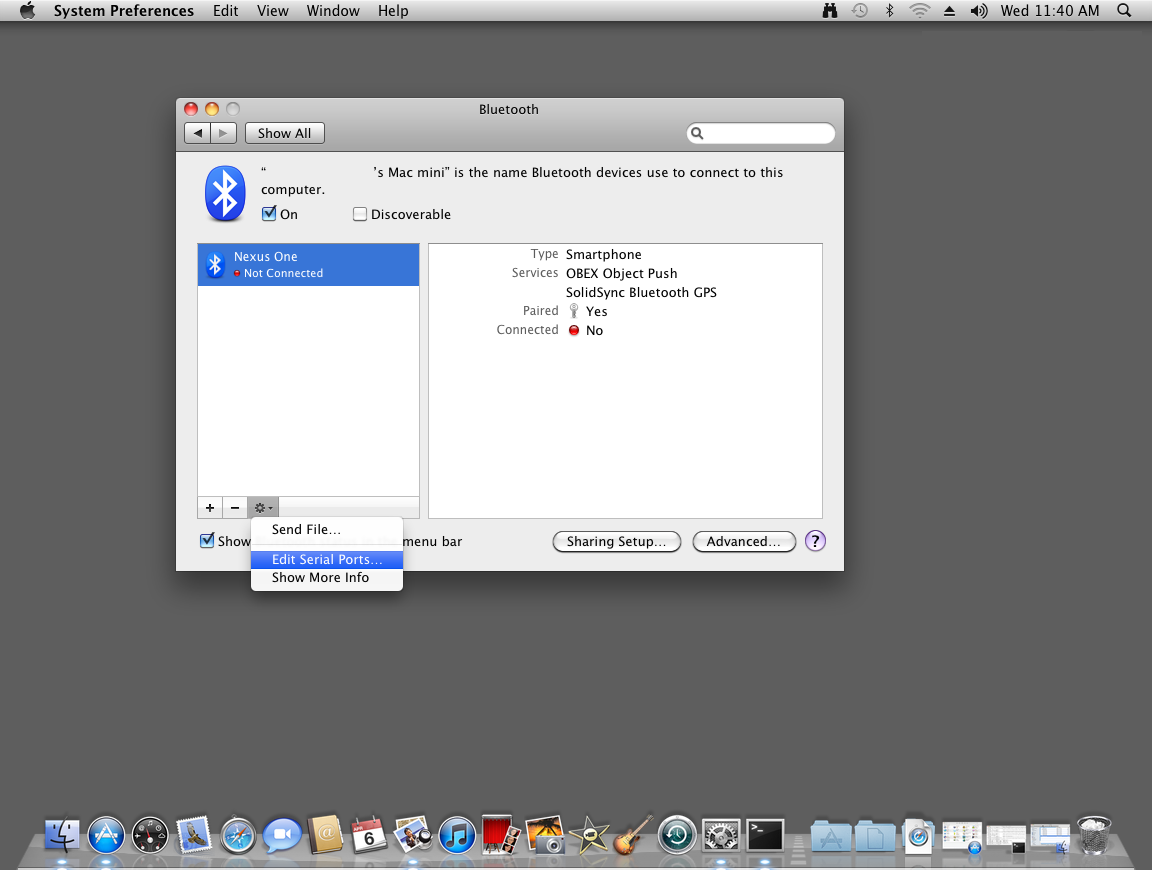
On the Mac OSX computer, open the System Preferences window as shown in Figure 9 below.

Figure 9: opening the System Preferences window
If the computer has Bluetooth capability, the Bluetooth icon will show as seen in Figure 10 below (the third icon in the third row). Click on the Bluetooth icon.

Figure 10: the System Preferences window with Bluetooth available
If Bluetooth is off, the Bluetooth preferences window will appear as shown in figure 11 below. Turn Bluetooth on by checking the On checkbox.

Figure 11: the Bluetooth preferences window with Bluetooth disabled
Once it is on, it will look like Figure 12 below.

Figure 12: the Bluetooth preferences window with Bluetooth enabled
Click the Set Up New Device button. This will open up the Bluetooth Setup Assistant which will automatically search for and find your Android device as shown in Figure 13 below: note the Nexus One entry in the list.

Figure 13: the Bluetooth Setup Assistant with your Android device
Select your Android device and then click Continue. The pairing process will be initiated as shown in Figure 14 below.

Figure 14: the initial Bluetooth pairing screen
On your Android device, you will see a notification of the pairing request from the Mac as shown in Figure 15 below. Confirm that the pairing code is correct and then tap Pair to accept the pairing process.

Figure 15: the Bluetooth pairing request from the Mac
Now click Continue on the window in Figure 14 above on the Mac to complete the pairing process. You should receive a confirmation that the pairing was successful as shown in Figure 16 below.

Figure 16: the successfully completed Bluetooth pairing
You can click Quit to close the window: your Mac will remember the pairing as shown in Figure 17 below. You can see the Bluetooth GPS service (named SolidSync Bluetooth GPS).

Figure 17: the saved Bluetooth pairing
To use the newly created connection select your Android device on the left and click the Settings button at the bottom of the window to open the Settings menu, then click the Edit Serial Ports menu option as shown in Figure 18 below.

Figure 18: selecting the Android device.
This will open the serial ports management screen as shown in Figure 19 below. This shows the default serial port name provided by Mac OSX. You can use this as the serial port to connect to your Android device with.

Figure 19: the Bluetooth serial port for Network/Bluetooth GPS
Click Apply to close the window. You can now close the Bluetooth preferences window.


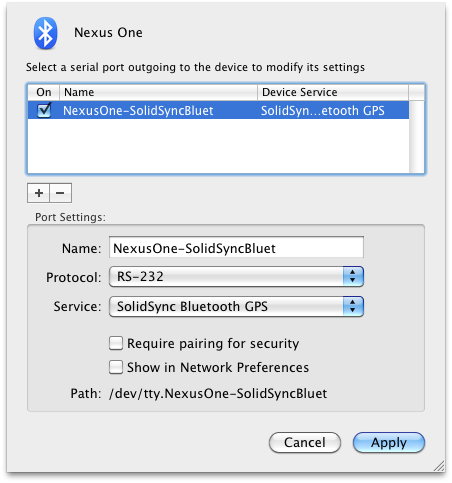
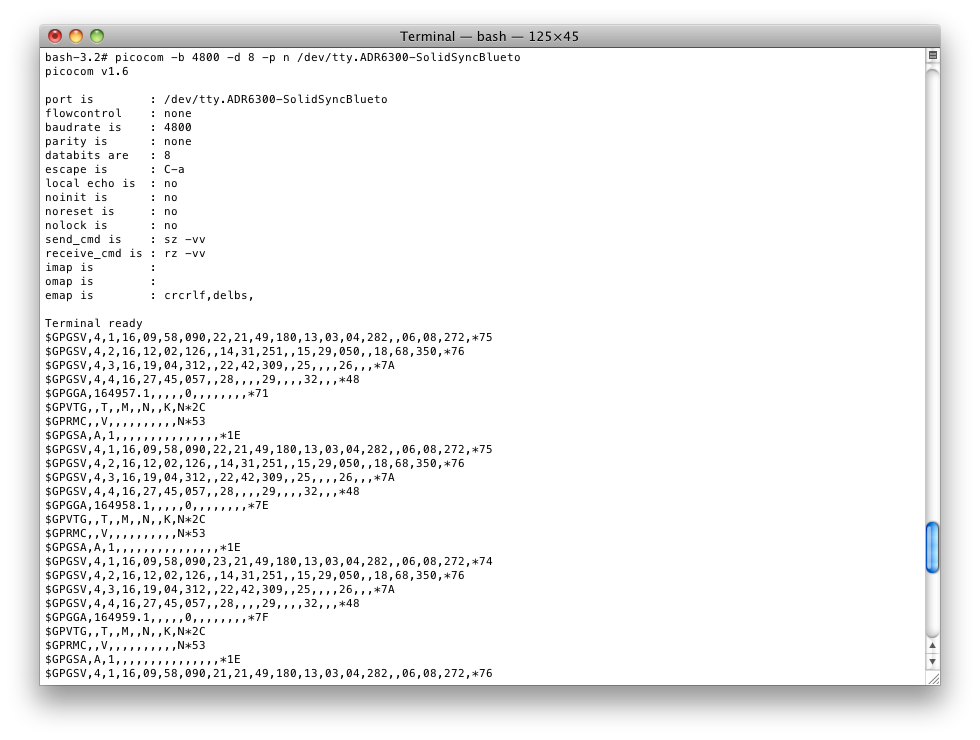
You can open the port in any serial-capable program: Figure 20 below shows the output using the picocom terminal emulator program.

Figure 20: receiving the NMEA data using the Terminal app and picocom
Your Android device screen will update to show that there is a Bluetooth connection as seen in Figure 21 below.

Figure 21: active Bluetooth connection

Comments are closed.