
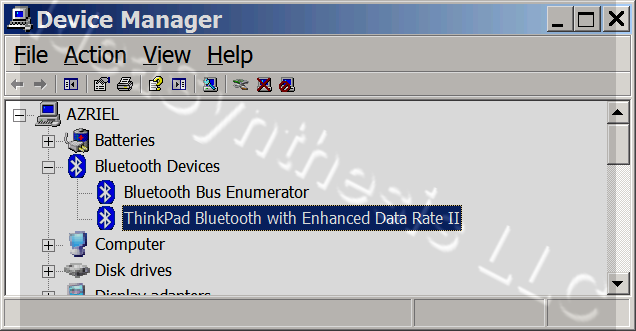
Connecting SolidSync Network/Bluetooth GPS to Windows XP SP3 on a Lenovo Thinkpad
If you are using a different version, the menus and screens may be different from what is shown below.
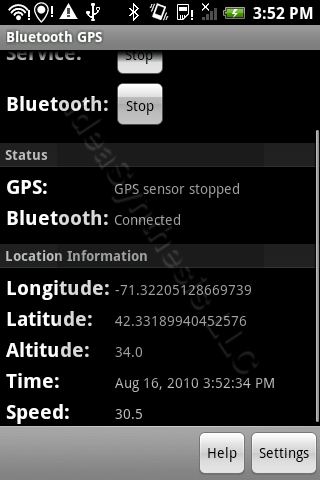
Tap the service Start button to start the GPS service, as shown in Figure 3 below.
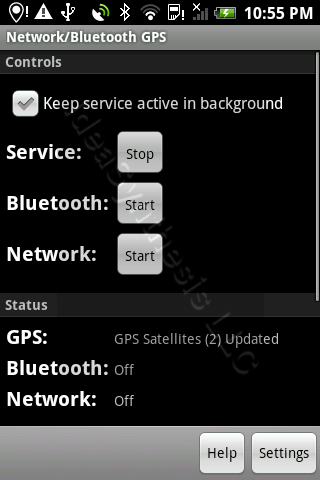
Tap the Bluetooth Start button to start the Bluetooth service, as shown in Figure 4 below.

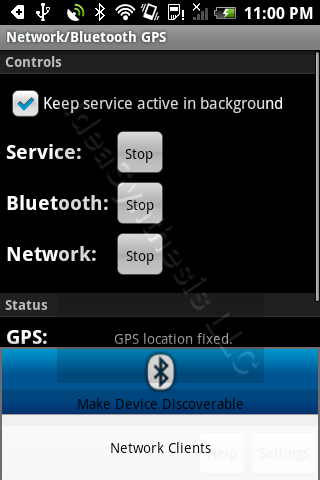
Tap the Menu button to open the application menu as shown in Figure 5 below.
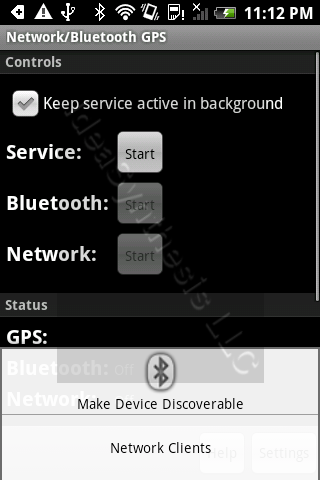
Tap the menu item as shown in Figure 6 below.
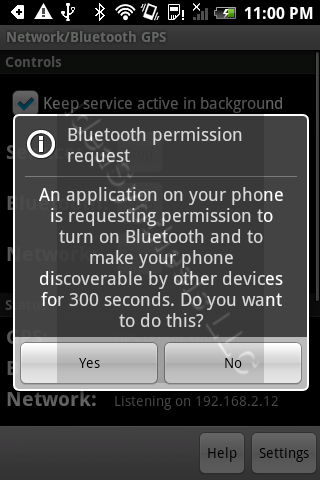
A confirmation request will pop up as shown in Figure 7 below.
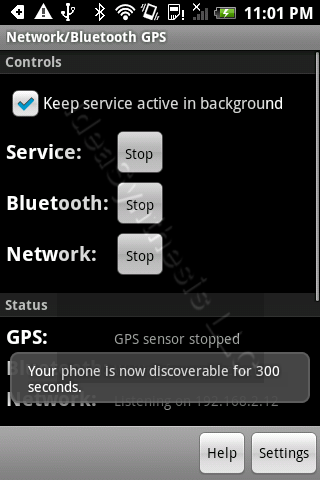
Tap OK to confirm the request: an indication will show up as in Figure 8 below.
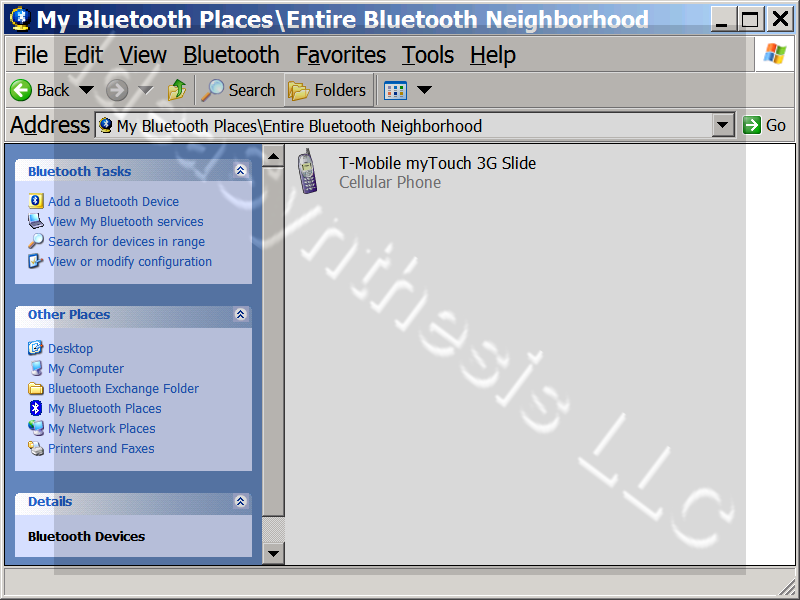
On the Thinkpad, double click on the Bluetooth icon in the system tray to open up the My Bluetooth Places explorer window as shown in Figure 9 below.
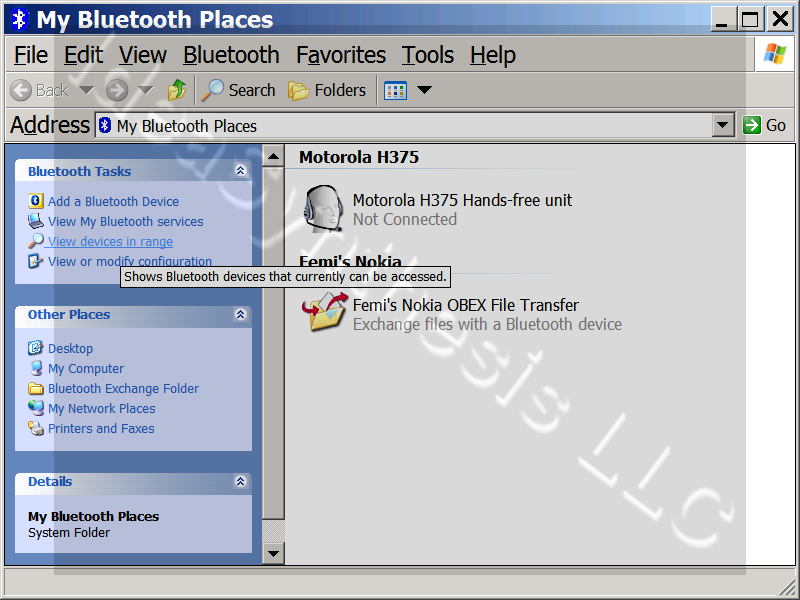
Click on the link on the left of the window to start a search for the handset as shown in Figure 10 below. This will show all devices in range, including the now discoverable phone.
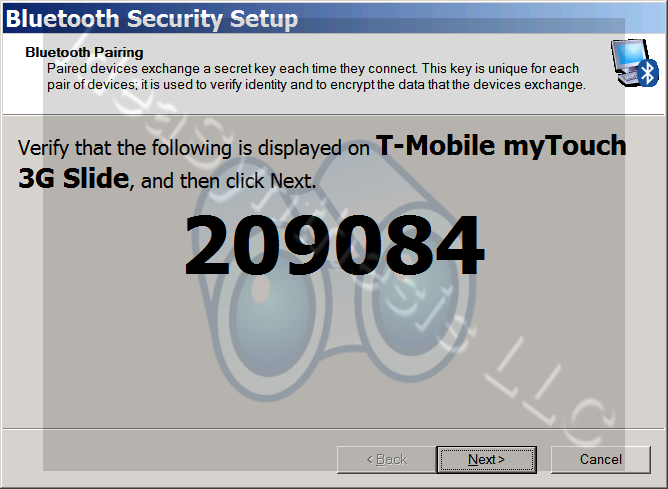
Double-click on the phone and a Bluetooth security dialog will open up as shown in Figure 11 below.
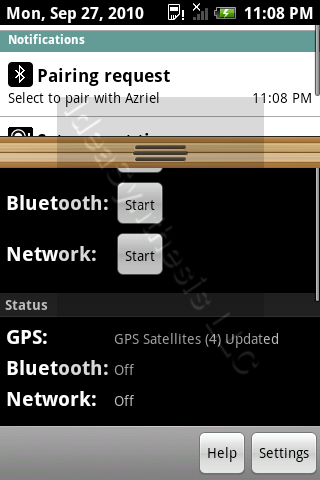
On the phone, a notification will appear to indicate that a pairing request was received, as shown in Figure 12 below.
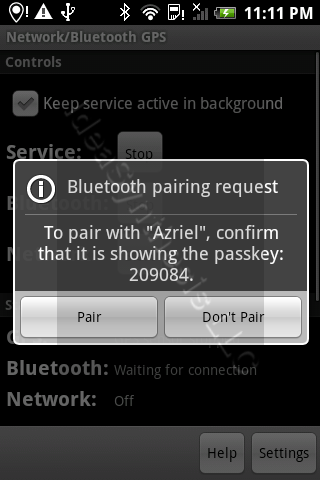
Tap the pairing request notification and you will be prompted to confirm or deny the request as shown in Figure 13 below.
Once you confirm the request, a pairing success dialog will appear on the Thinkpad as shown in Figure 14 below.

Immediately after the pairing success dialog the services selection dialog will appear as shown in Figure 15 below.
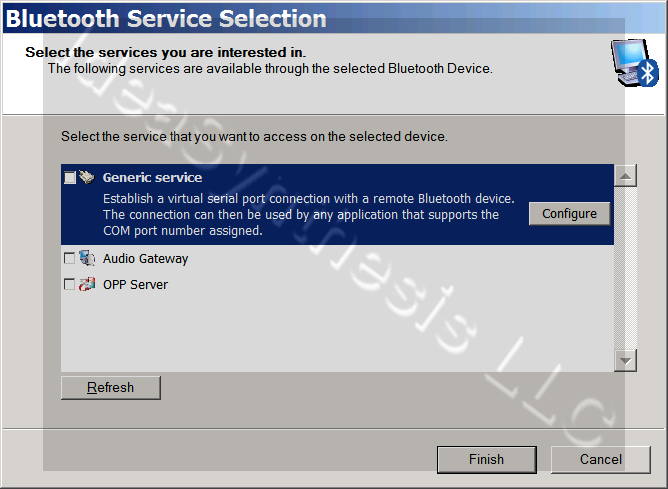
Click the option then click the Next button to complete the basic setup process: this will show the completion page as seen in Figure 16 below.
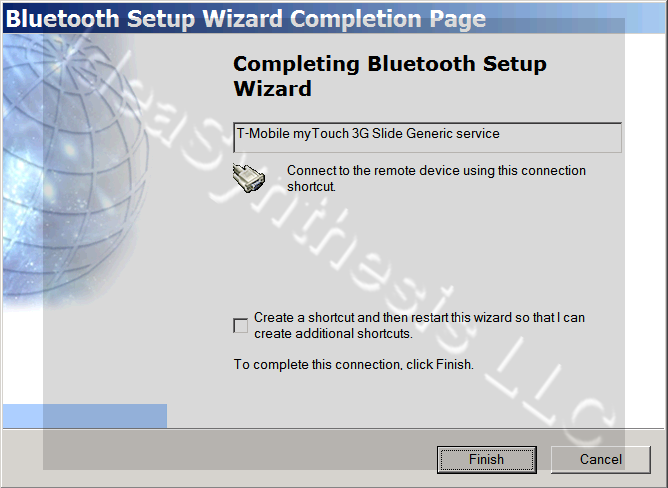
The window will show that the service is setup, as shown in Figure 17 below.
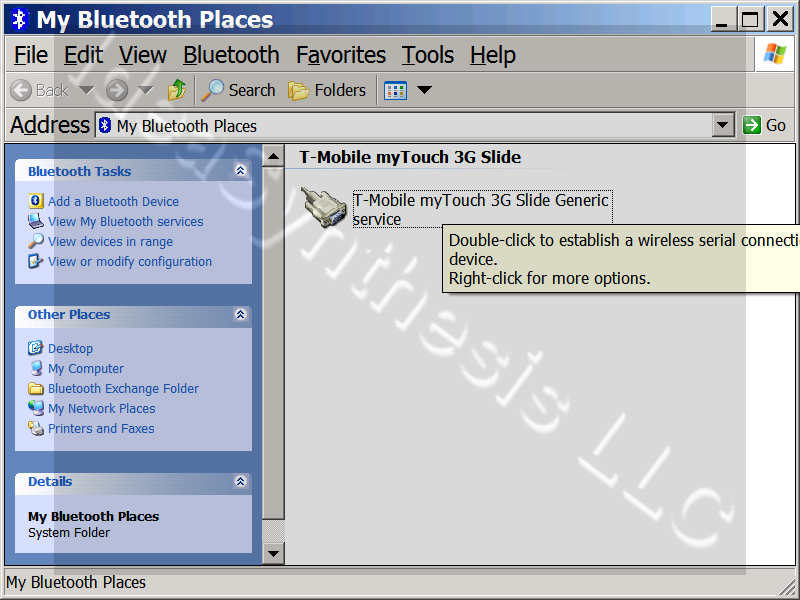
Double click to connect the service: the app will indicate that the connection is in place, as shown in Figure 18 below.
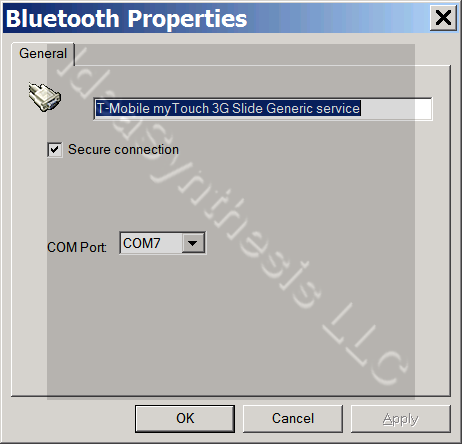
You can now change the port selection or rename the connection. Press the OK button after making the desired changes.